


Add a Splash of Colour in Photoshop
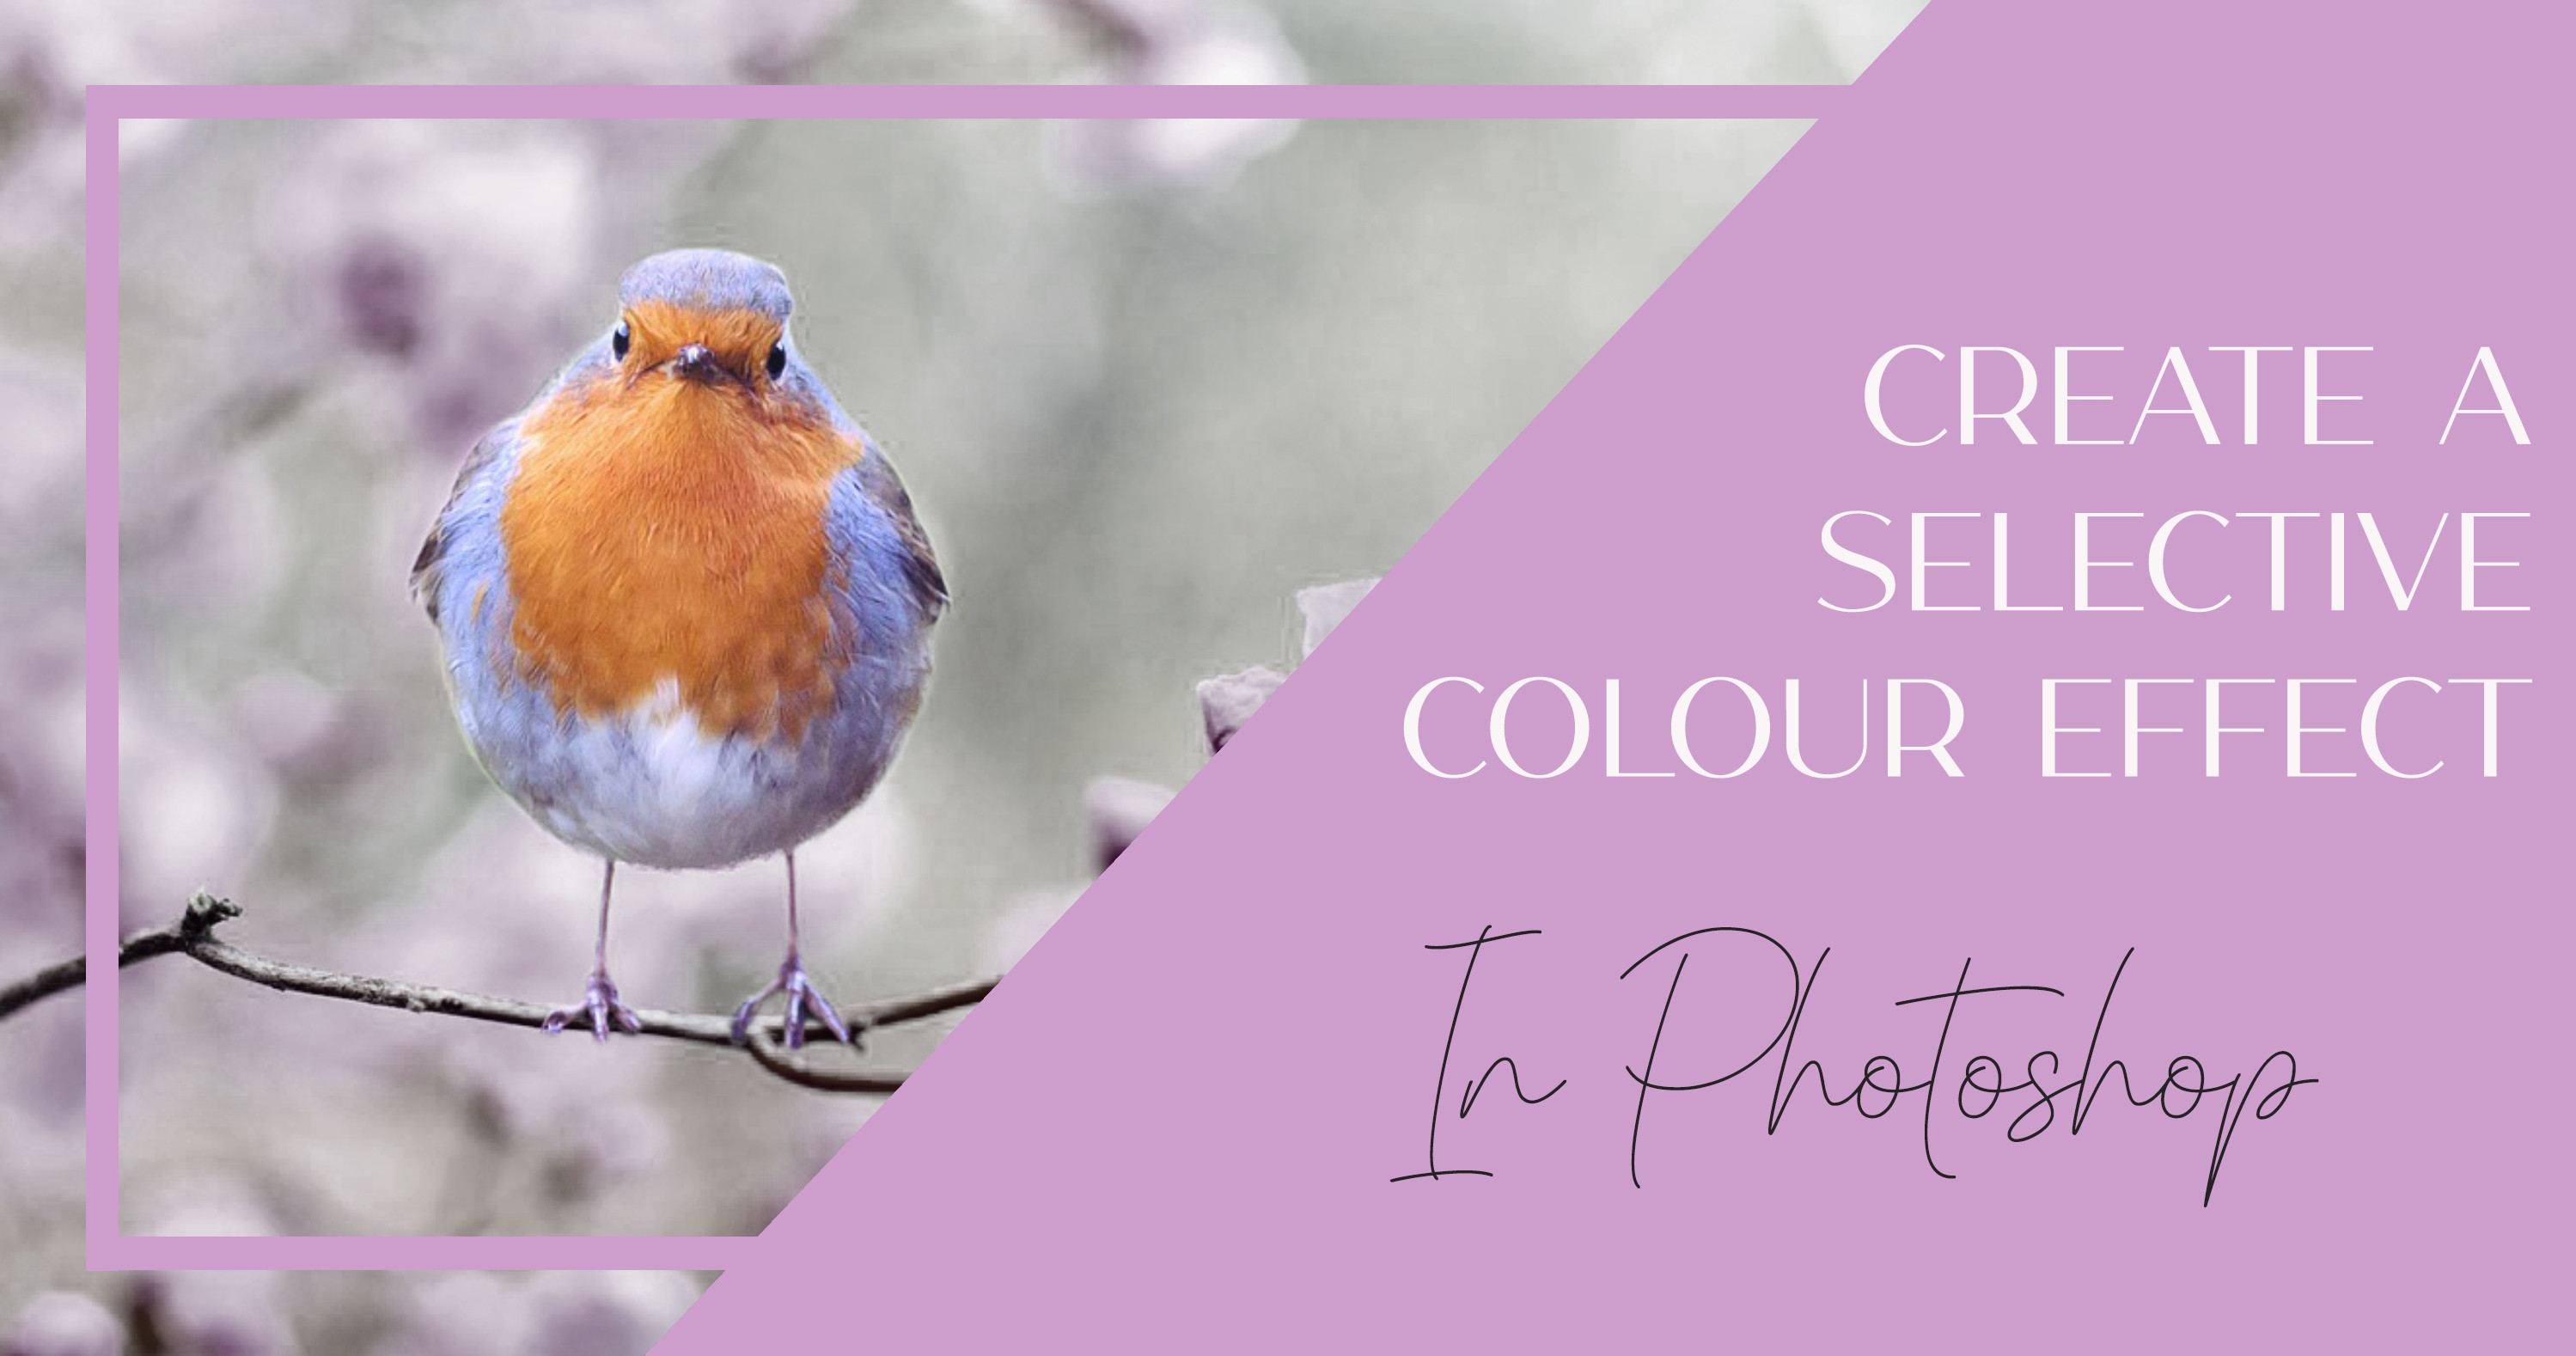
We’ve all seen photos online or prints in shops of a black and white photo, with one element of the picture in colour, in this post we’ll go through the steps on how to do it yourself using Photoshop to achieve that “splash of colour.” It’s a really simple but effective technique and surprisingly easy too!
The first step is to find an image you want to use. It’s best to go for something with a main focal point, for example a photo of an object, animal, or singular person, rather than scenery or a group of people. I’m going to use a photo of a cute robin perched on some colourful flowers. It’s also worth noting that I’m using Photoshop 2020, however the steps are the same for older versions, but my screenshots might look a little different to yours if you’re using a different one.
Once you have an image you want to use, open this up in Photoshop. For reference, below is the original photo (taken from Pixabay) which I’ll show you the technique on today, we’ll then work towards a version with a fully black and white background, and one with a little bit of colour showing through.

There are multiple ways in which we can achieve this same end goal using Photoshop, the most well known way is to use selective tools, however, these can be quite daunting and they don’t always select the exact parts which you want. In this tutorial we’ll be using brushes and layer masks – it’s a simple trick and you don’t need to be an expert to do it.
Now you have your chosen image open, you’ll see it in the layers menu like below, named background. This is the layer where your original image will be kept. We’ll be using new layers, so your original image will technically remain untouched.

Under your layers list, select the new fill or adjustment layer icon, which looks like a circle split in half. From the menu, select black and white.

You’ll now see a new layer in the menu and your original photo will have “changed” into black and white. Your photo hasn’t really changed, it’s just the adjustment layer you see showing this effect.
In the layers menu you’ll also see a white square, this signifies that the layer mask is covering our original image.

So, now we want to bring our colours through the black and white adjustment layer. To do this, we can use a brush on the adjustment layer to reveal the colour. Go to your brush tool on the left hand menu, and select a round brush. Your brush size will vary depending on what photo you’re using, and the size of the object you’re wanting to show in colour. It’s also good to note that the hardness should be set to 0%. It’ll probably default to this but it’s worth checking, just in case.


Next, we need to change our brush colour to black. This will mean that by painting on our white adjustment layer, the black brush will bring the colour through, like magic!
Tip: a quick way to select black or white, is to press the either the letter D or X on your keyboard. This switches your colours between black and white (and this should work on either Windows or Mac). You’ll see the “colour” squares in the bottom left and top right corners change when you flick between D and X.
These two colours are the foreground (upper left) and background (lower right) – for this process we need the foreground colour to be black.

Now, we have our brush and colour chosen, start to colour in the main part of your image which you want to show in colour. Avoid the edges for now, but colour as much of your selection as you can. You’ll probably want to use a larger size brush to cover as much area as possible.
Once you’ve covered the main part of your selection, make your brush slightly smaller to get into the edges a little more – but not right up against the edge just yet.
You’ll also notice on the layers menu, that the white square now has black parts in it. The black area is just showing where the adjustment layer’s effect is hidden, as we’ve blanked it out with our black brush.

We’re almost done, and you probably guessed what we’re going to do next to complete our effect. Stay on a round brush tool, but make the size smaller and increase the hardness; we’re going to carefully go around the edge of the part which we want to show in colour.
This can be a little fiddly to do but take your time and experiment with the brush size and hardness. You’ll also want to zoom in and out to get a closer view of the lines. A shortcut for this is CTRL and + or -.
Tip: if you accidentally go over the lines and colour a part which you didn’t mean to, just toggle the D and X keys to switch between black and white colours. If you use the white brush, you can change a mistake back to black and white.

So, now you’ve re-coloured your selected area, all of the hard work is done. You might want to spend a little time zooming in and out to make sure that all of the correct parts are in colour or black and white, for example on my image, the bird’s feet and little wings were a bit tricky!

Our final step is to adjust our black and white layer slightly. You may be more than happy with your final result but it’s worth at least having a look at this step as you may want to make some changes.
Open the properties panel which is the second button down, on the left of the colour palette. You’ll then see sliders for different colours.

Play around with the sliders to fine tune your black and white area. You might be surprised at how much difference it makes.
Below is my completed image. I adjusted the sliders in the preference panel to make the branches and flowers in the background have a bit more contrast. If you want a little bonus step keep reading…

Seeing as we used an adjustment layer to “change” our image into black and white, we had the opacity on 100% ensuring no colour comes through. Sometimes it can also look effective to have a little bit of colour coming through, but not as vivid. To adjust this, click on opacity in the layers menu and adjust the slider slightly. You’ll see that the more you adjust it towards 0%, the more colour comes through.
In my image below, I have adjusted the opacity to 75% to give a slight pink hue on the flowers. Have fun!


 Arabic
 French
 Spanish
 Portuguese
 Deutsch
 Turkish
 Dutch
Dutch
 Italiano
 Russian
 Romaian
 Portuguese (Brazil)
 Greek
Greek